How do I...? (offer to show /explain).

Ask for help with doing something on your car here.

How do I...? (offer to show /explain).

Postby Mo_GT » Sat Oct 20, 2007 12:10 am

Hey All,
I will be doing my stereo install in the new GT in a few days time, being the nice considerate guy that i am, i thought i'd ask if anyone wants to know any specific 'how to' questions?

I'm only asking cos after i did my install in the old car, quite a few ple asked me how i did certain things and if i could take pics and show - it was hard to take pics, etc. after i'd finished (of the process).

This is what i will be doing:
1) Run power, RCA and speaker wires
2) Remove factory stereo
3) Sound deaden
4) Replace factory headunit
5) Install 6.5" mids in the doors (factory locations)
6) Install tweeters in the kick panels
7) Install amp (floating amp rack)
8 ) Instal sub and sub enclosure

Hope to start next Wednesday the 24th of October.

:)
Never Argue With An Idiot... They'll Drag You Down To Their Level And Then Beat You With Experience.
User avatar
Mo_GT
 
Posts: 697
Joined: Wed Oct 11, 2006 7:48 pm
Location: Perth
Car: GT Spec B

Postby Ric » Sat Oct 20, 2007 12:14 am

Yep, pictures of every step of the process would be great :D
User avatar
Ric
Site Admin
 
Posts: 6473
Joined: Fri Oct 06, 2006 11:08 pm
Location: Melbourne
Car: OLD: MY06 3RB Wagon NEW: MY21 Outbck
Real name: Ric
Profile URL: viewtopic.php?f=7&t=12

Postby Resonate » Sat Oct 20, 2007 12:24 am

i thought i'd ask if anyone wants to know any specific 'how to' questions?


Me Me Me!! All of them! 8)
User avatar
Resonate
 
Posts: 925
Joined: Fri May 11, 2007 9:36 pm
Location: Brisbane, QLD
Car: MY07 GT-B (Diamond Grey)

Removing HU and Door Speakers

Postby Mo_GT » Wed Oct 24, 2007 2:42 pm

Here's how to remove the STD HU and Door speakers:

Image

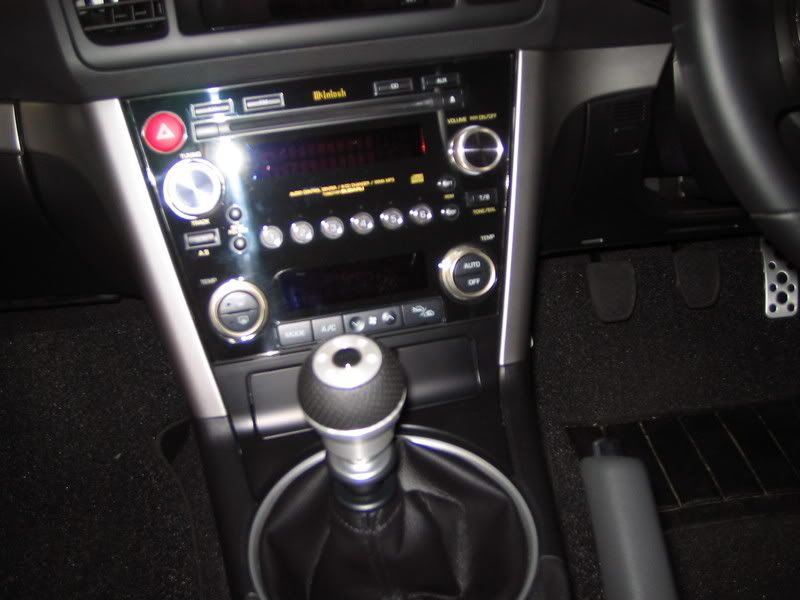
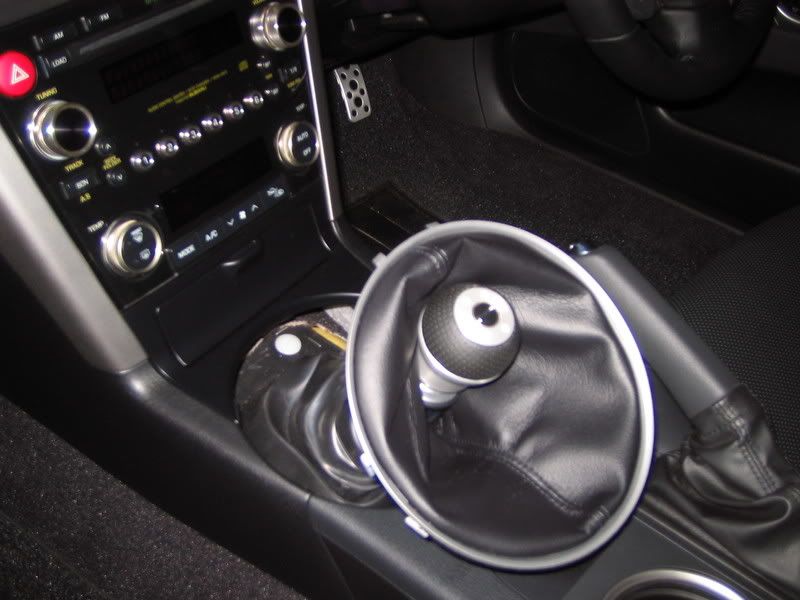
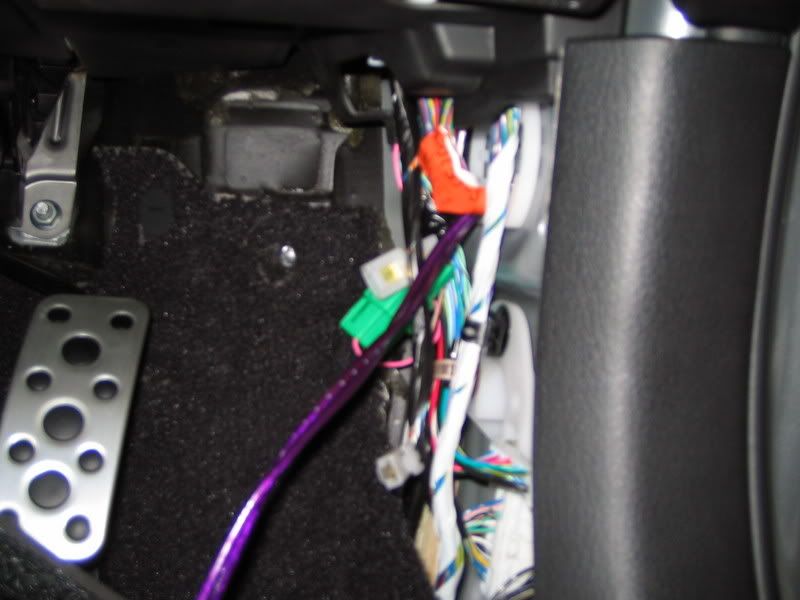
Remove gear stick trim - it clips out.

Image

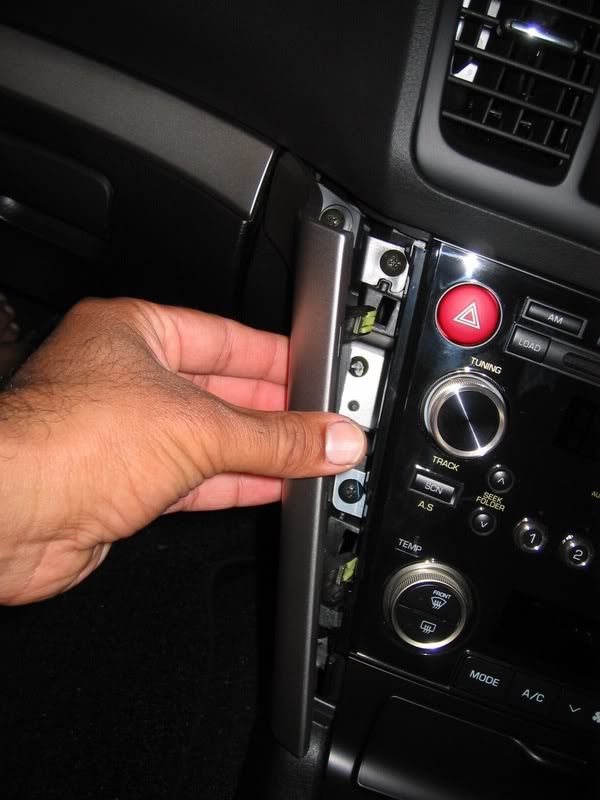
Pull out side silver trim - 3 clips hold it, a firm pull towards the back of the car will un-clip it.

Image

After this, the ash tray / lighter will be easy to remove.

Image

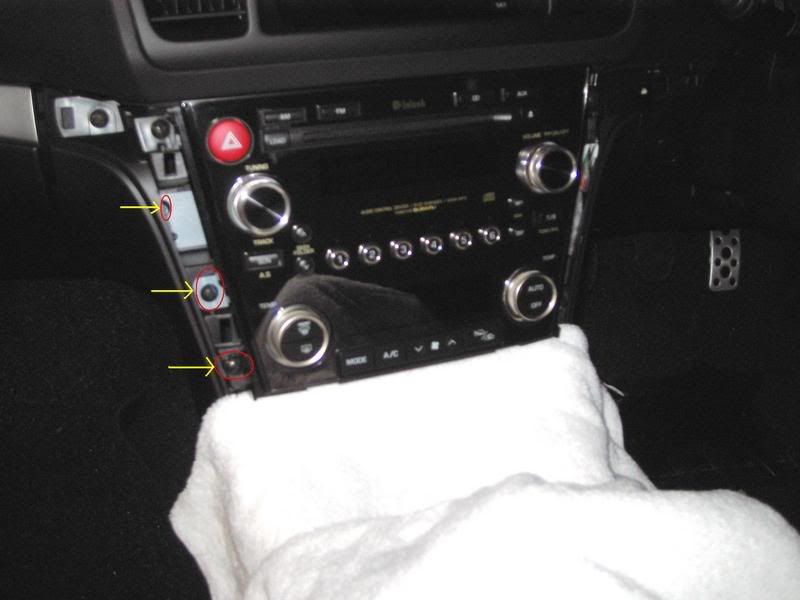
Remove the 3 screws shown as well as on the driver's side. Now you can pull out the whole HU /climate control assy. Un plug all connections.

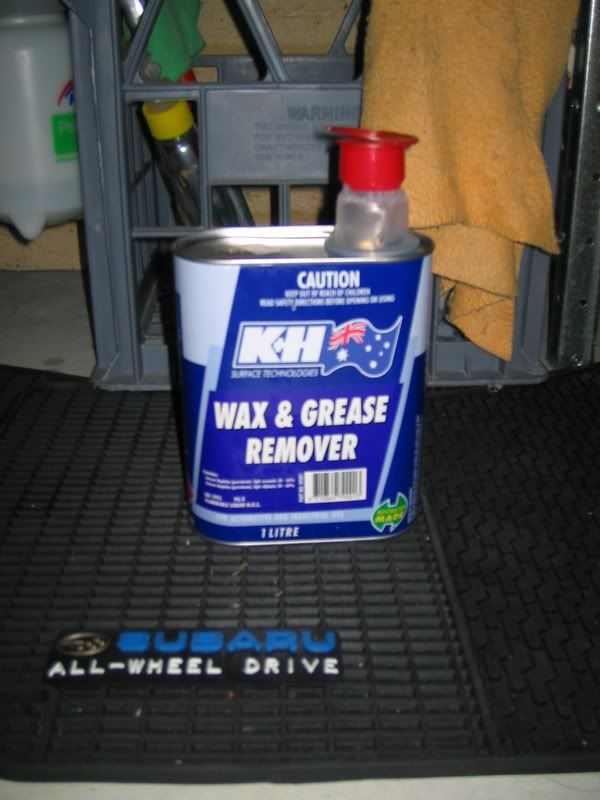
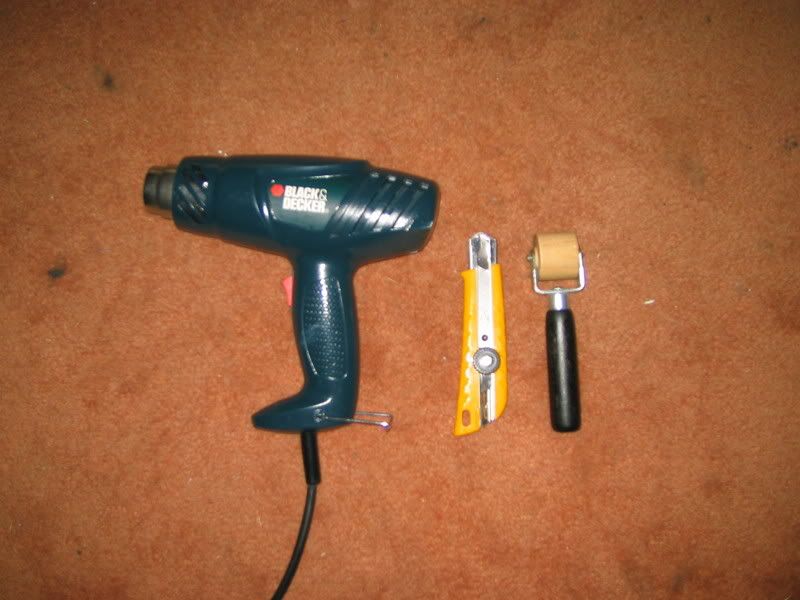
To Remove door trim, i use the following:
Image

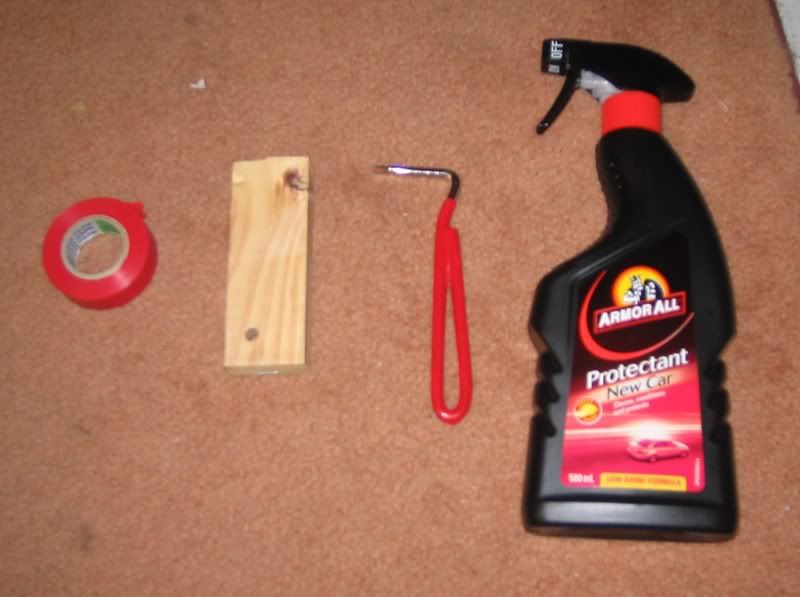
The armor all acts as a lubricant and helps the plastic bits to slide without scratching. I picked up the bent screw driver like tool from a horse supplies store - i think they are used to het stones out of hooves or something... but its th eperfect tool for this job!

Image

All you do is to lever the trim of the door handle and it will pop out. Remove the 2 screws inside the handle and also remove the trim behind the door lever and remove one screw from there.

Remove sail panel mounted tweeter - it pulls out too.

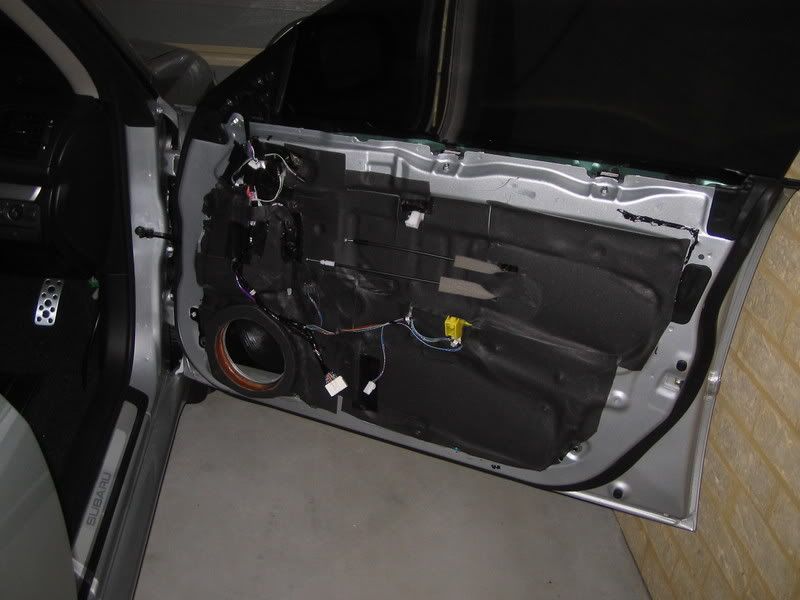
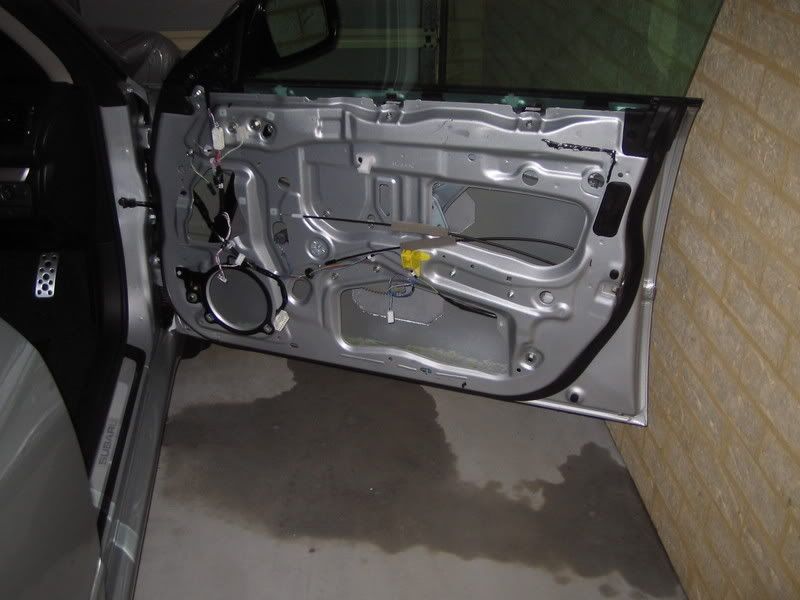
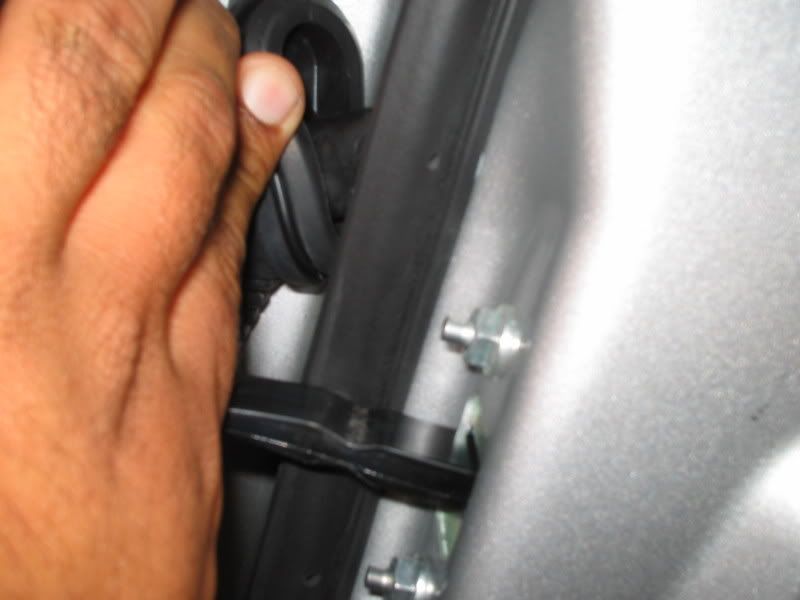
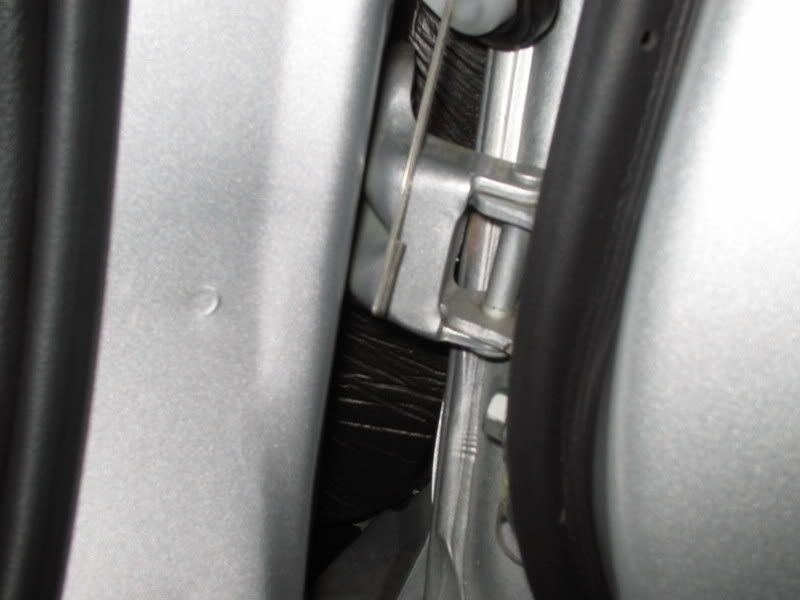
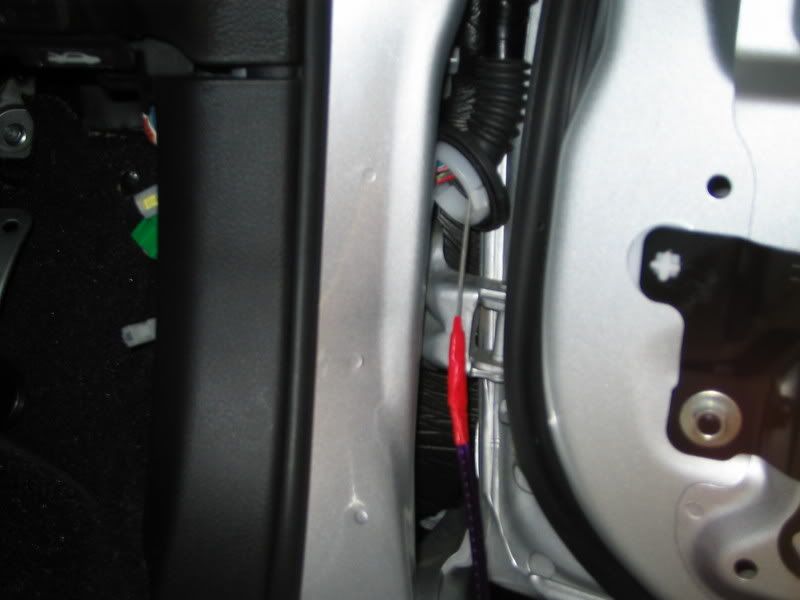
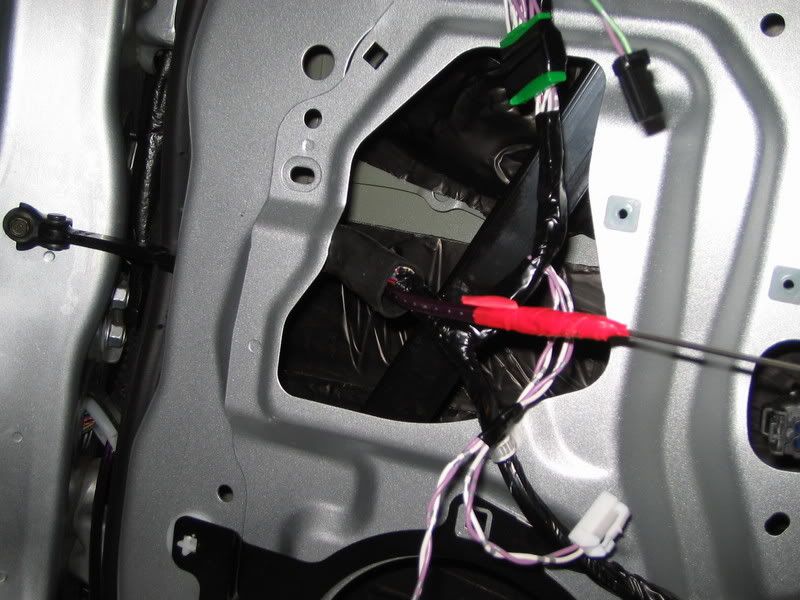
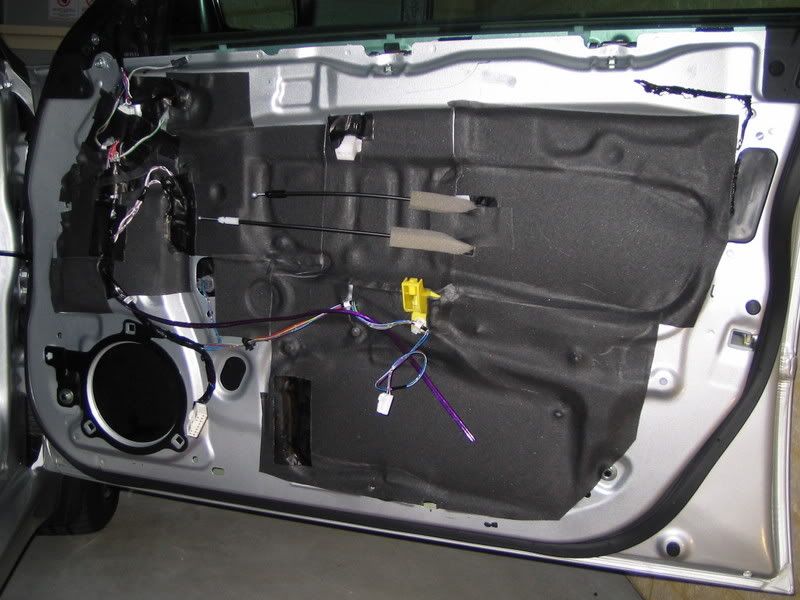
Now youre ready to pull the trim off the car - get you hands between the trim and the door skin at the bottom of the door and pull out/up, you'll here the clips pop out. Disconnet the wires and lock cables.

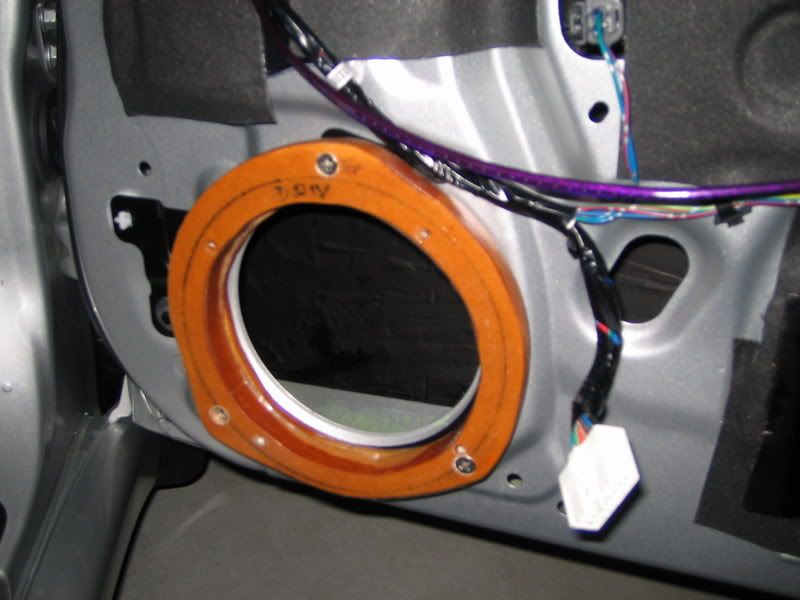
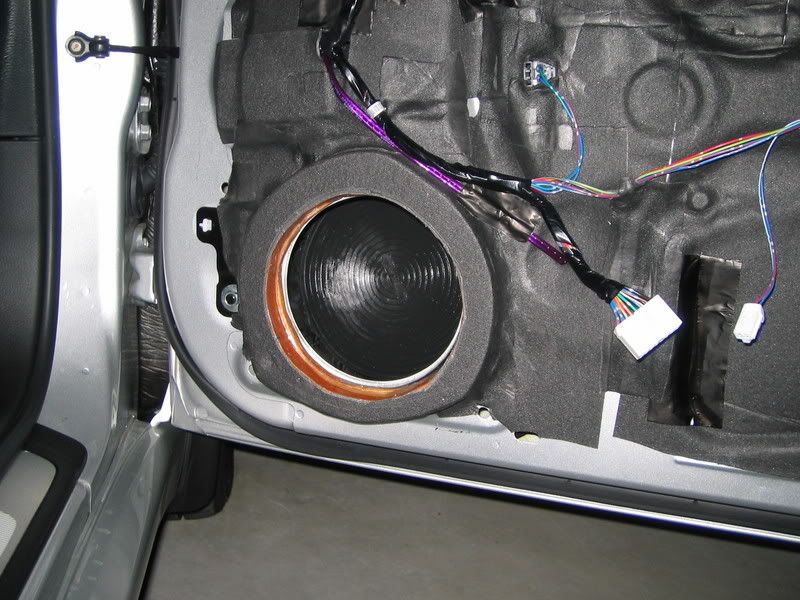
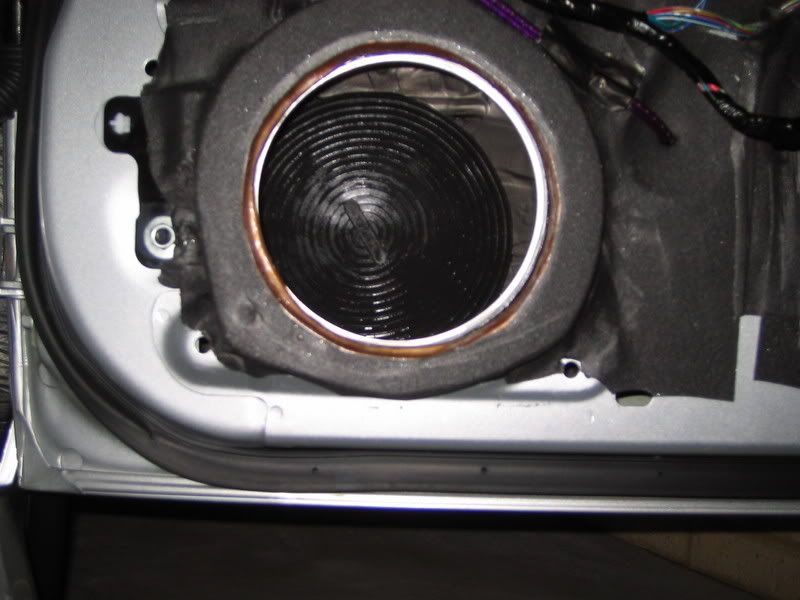
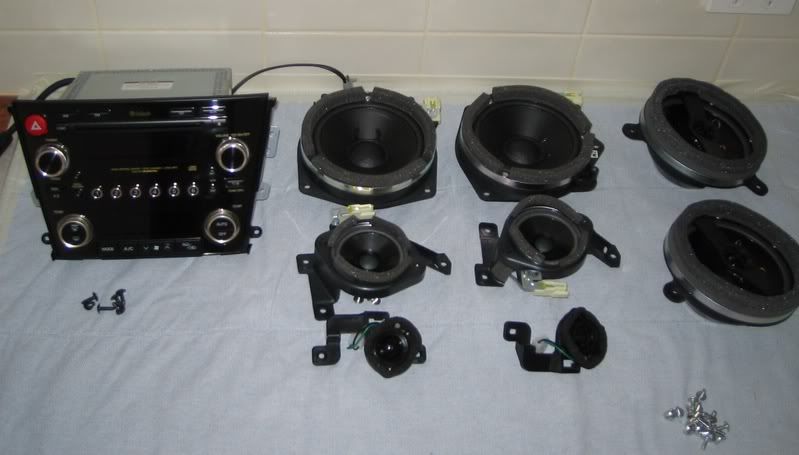
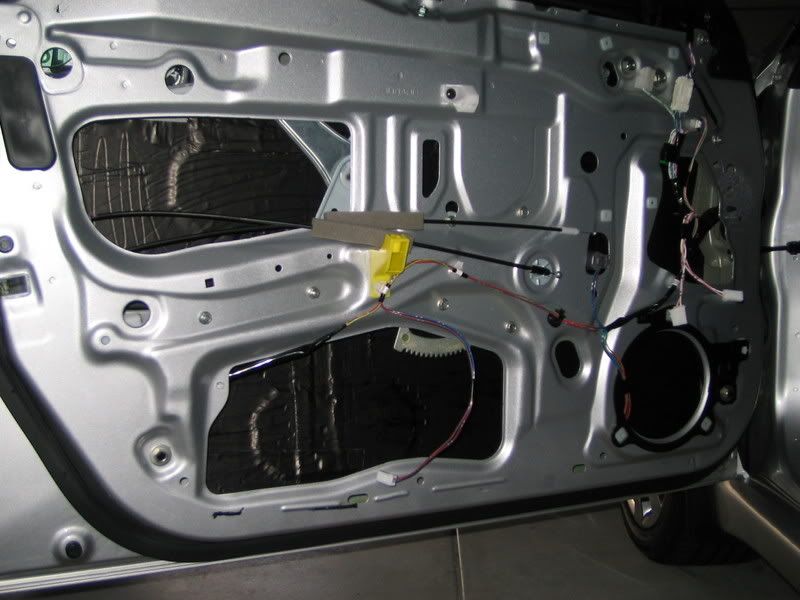
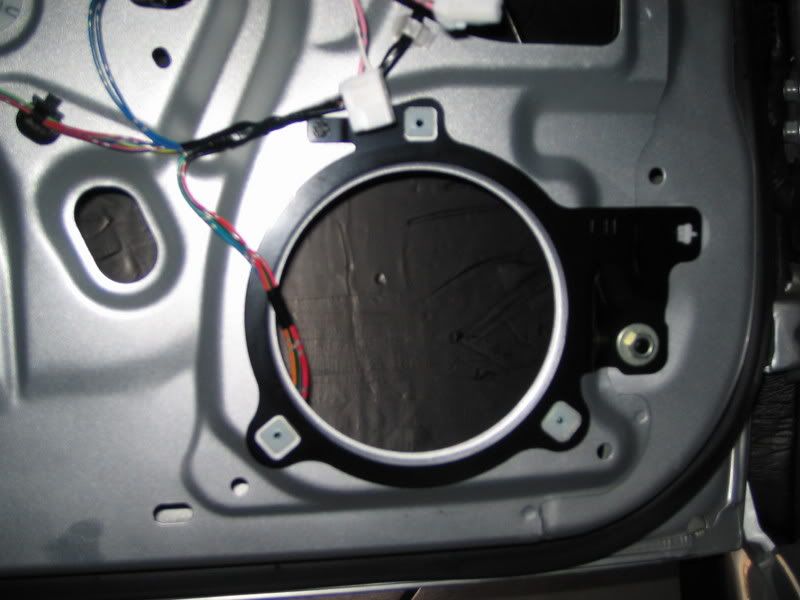
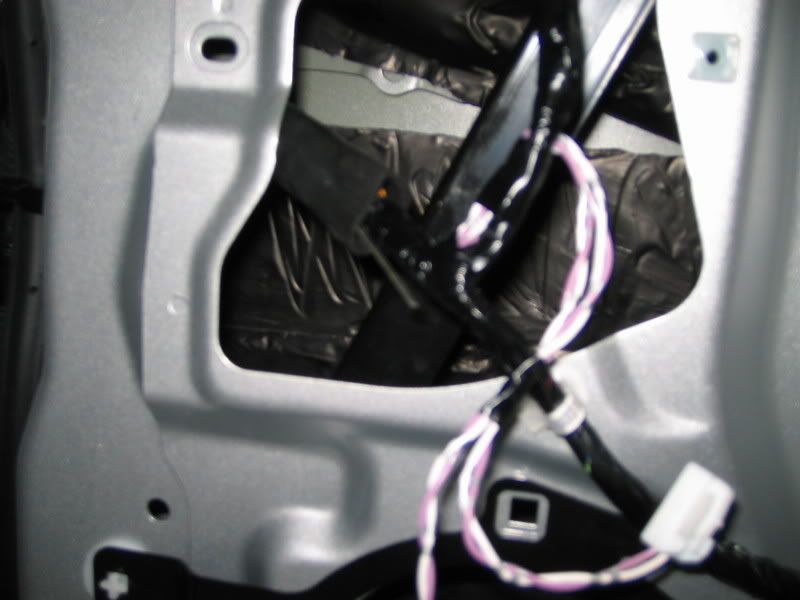
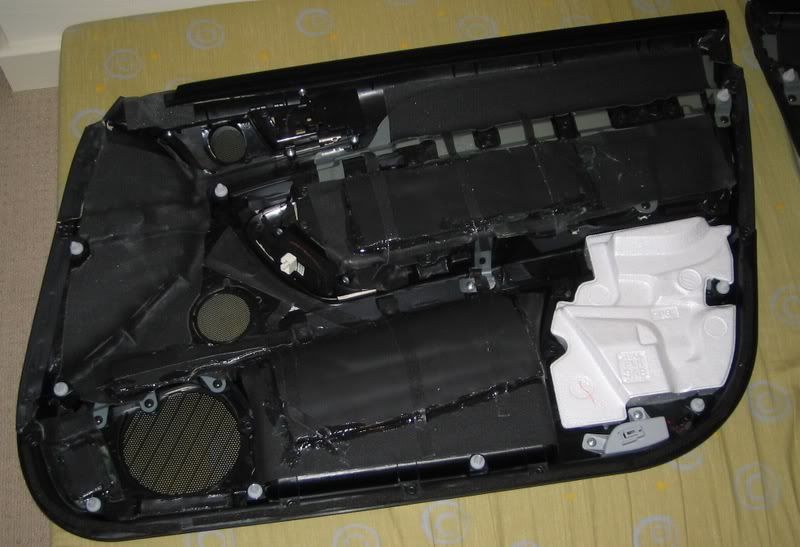
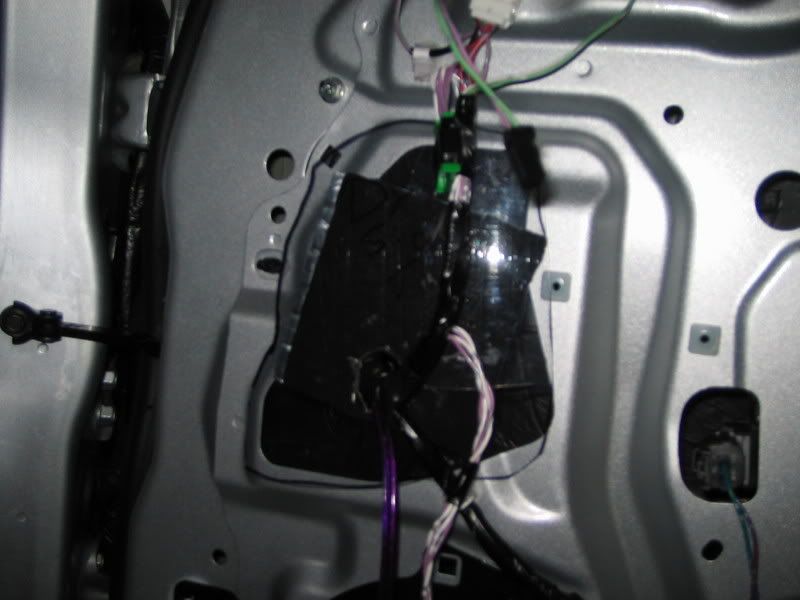
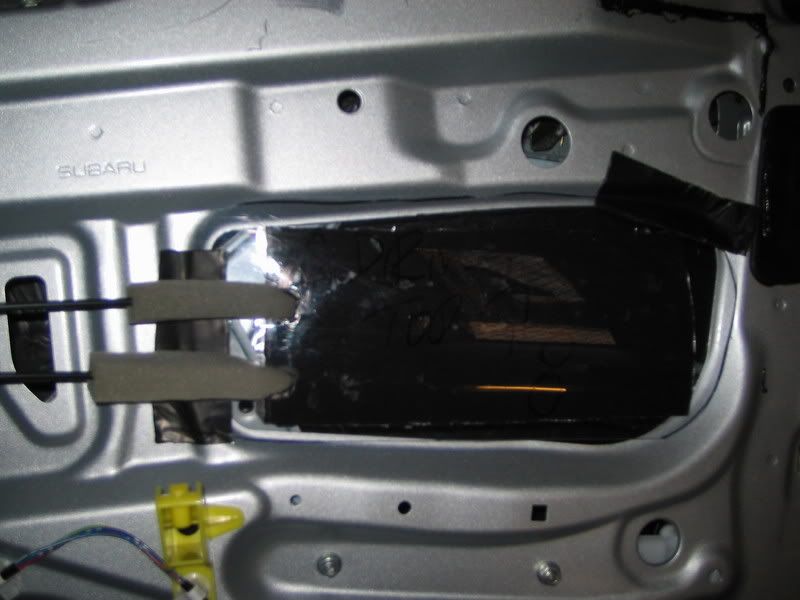
Removing the door mounted speakers is easy - remove all the screws holdig them and disconnect the plugs.

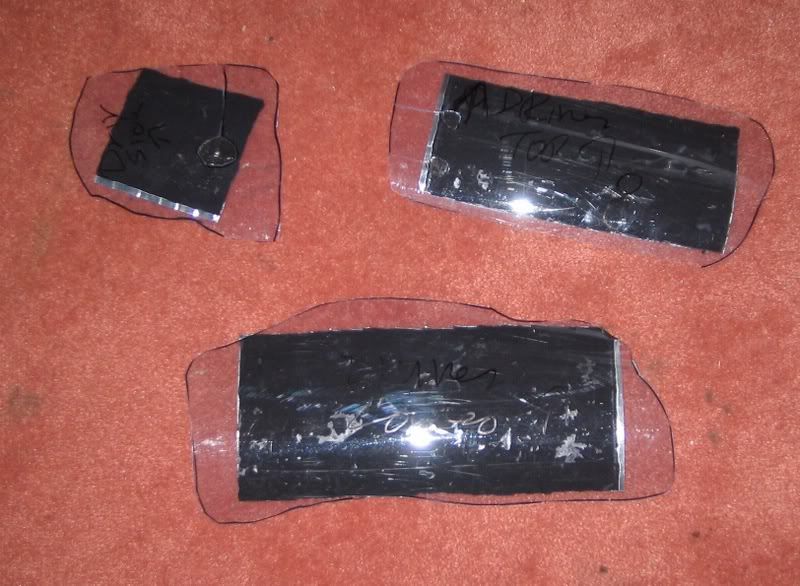
Here's a pic of all the things i removed this morning:
Image

And its really important to have back up ready and waiting should you need it:

Image


:)
Never Argue With An Idiot... They'll Drag You Down To Their Level And Then Beat You With Experience.
User avatar
Mo_GT
 
Posts: 697
Joined: Wed Oct 11, 2006 7:48 pm
Location: Perth
Car: GT Spec B

Postby WhiteGTB » Wed Oct 24, 2007 11:27 pm

Very very helpful, thanks for the pics, I could use this info too!
User avatar
WhiteGTB
 
Posts: 3233
Joined: Sat Aug 18, 2007 2:41 am
Location: Sydney, NSW
Car: MY07 Legacy GT Spec B 6pd

Postby Mano™ » Thu Oct 25, 2007 5:47 pm

Soooooo where's the new pics of the new gear mo :P
Mano™
-stickered-
 
Posts: 3442
Joined: Sat Oct 07, 2006 9:52 am
Location: Newcastle
Car: MY06 Liberty GT

Postby Mo_GT » Thu Oct 25, 2007 7:02 pm

LI81TY wrote:Soooooo where's the new pics of the new gear mo :P


Its all the same old - same old. Only a few new bits - some pics are on my www link.
Never Argue With An Idiot... They'll Drag You Down To Their Level And Then Beat You With Experience.
User avatar
Mo_GT
 
Posts: 697
Joined: Wed Oct 11, 2006 7:48 pm
Location: Perth
Car: GT Spec B

Sound Damping - part 1

Postby Mo_GT » Thu Oct 25, 2007 7:29 pm

Once the door trims are off, remove the plastic /foam sheet and clean the doors for sound damping.

I used K& H wax and grease remover to clean out the doors:
Image

Image

I also washed the inside of the doors with dish washing liquid to get rid of any traces of the wax and grease remover.

The below pic shows some of the rust proofing wax that i left - i only cleaned the areas where the sound damping would be applied.
Image

Tools used:
Image

A few pics of the inside with sound damping:
Image

Image

Image

Image

Part 2 will be applying sound damping to the outer door skin and running wire into the doors.
Never Argue With An Idiot... They'll Drag You Down To Their Level And Then Beat You With Experience.
User avatar
Mo_GT
 
Posts: 697
Joined: Wed Oct 11, 2006 7:48 pm
Location: Perth
Car: GT Spec B

Postby Mano™ » Sun Oct 28, 2007 3:25 pm

U crack me up.. u can never leave the ar alone for like 6mths hahaha

How much this costin u so far mozy? like for the sound damping shit...
Mano™
-stickered-
 
Posts: 3442
Joined: Sat Oct 07, 2006 9:52 am
Location: Newcastle
Car: MY06 Liberty GT

Postby Mo_GT » Sun Oct 28, 2007 11:38 pm

LI81TY wrote:U crack me up.. u can never leave the ar alone for like 6mths hahaha

How much this costin u so far mozy? like for the sound damping shit...


This car is more than 6 months old now :D

I have no idea on cost... The sound damping is stuff left over from my last car (since i had to get the stuff from the USA, i bought bulk packs).

Probably spent a little over a grand in getting parts for this car so far - that's it.
Never Argue With An Idiot... They'll Drag You Down To Their Level And Then Beat You With Experience.
User avatar
Mo_GT
 
Posts: 697
Joined: Wed Oct 11, 2006 7:48 pm
Location: Perth
Car: GT Spec B

Running speaker wire into the doors

Postby Mo_GT » Mon Oct 29, 2007 10:06 pm

Worked on the car today and ran the speaker wire into the doors and did a bit more damping.

I used this to help run the wires through the rubber fittings in the car:

Image
Its just the metal part found in most wiper blades.

Remove the fititng:
Image

Image

Then guide the metal bit thru:
Image

Image

Then use that to pull the wire thru:

Image

Image

And thread the other end of the wire into the car:
Image

Put all the fittings back.
Last edited by Mo_GT on Mon Oct 29, 2007 10:12 pm, edited 1 time in total.
Never Argue With An Idiot... They'll Drag You Down To Their Level And Then Beat You With Experience.
User avatar
Mo_GT
 
Posts: 697
Joined: Wed Oct 11, 2006 7:48 pm
Location: Perth
Car: GT Spec B

More damping:

Postby Mo_GT » Mon Oct 29, 2007 10:10 pm

The door skins done:
Image
The skins tend to vibrate the most so make sure you do this properly

I cut out bits from polycarbonate sheeting to cover the holes in the car doors. I also put a bit of damping on them:
Image

Doors almost done:
Image

Image

Image

Next step is to make mounting rings for the speakers, fit them and sound damp over them to finish of the doors.
Never Argue With An Idiot... They'll Drag You Down To Their Level And Then Beat You With Experience.
User avatar
Mo_GT
 
Posts: 697
Joined: Wed Oct 11, 2006 7:48 pm
Location: Perth
Car: GT Spec B

Postby LIBER8ED » Fri Nov 02, 2007 5:53 pm

top work mo, great write up.. but i am so NOT doing that myself.. strathfield, here i come.. ha ha
He who laughs last, thinks slowest.

[TEAM BLUE OVAL]

Image[ImageImageImageImage
User avatar
LIBER8ED
-stickered-
 
Posts: 964
Joined: Tue Oct 10, 2006 4:42 pm
Location: Castle Hill NSW
Car: MY06 3RB Liberty Wagon 6MT
Real name: Kurt

Speaker adaptors

Postby Mo_GT » Mon Nov 12, 2007 7:39 pm

Just finished making some mounting rings/adaptors for the speakers:

Tools needed:
Image

Draw /trace the std speaker mounts onto a bit of mdf:
Image


After cutting it out, coated the whole thing with a very thin layer of fiberglass to keep the whole thing water proof:
Image

The rings are angled to point the speakers up wards and to the rear:
Image

Counter sunk screws that hold the rings on the doors:
Image

Test fit
Image

Fitted and sound damped:
Image

Image

Showing the deflex pads behind the speakers:
Image


:)
Never Argue With An Idiot... They'll Drag You Down To Their Level And Then Beat You With Experience.
User avatar
Mo_GT
 
Posts: 697
Joined: Wed Oct 11, 2006 7:48 pm
Location: Perth
Car: GT Spec B

Postby WhiteGTB » Mon Nov 12, 2007 9:49 pm

Woah... that is amazing, so much work invovled. Dude I gotta give it to you, that is a great job by the looks of things.

Wish you were in Sydney mate, I'd pop over and give ya a hand!

Let us know how the end result goes :) :)
User avatar
WhiteGTB
 
Posts: 3233
Joined: Sat Aug 18, 2007 2:41 am
Location: Sydney, NSW
Car: MY07 Legacy GT Spec B 6pd

Next

Return to How do I?

Who is online

Users browsing this forum: No registered users and 8 guests