Now, this is not really a 'walk-through' as such, cos i've never done one and i don't claim to know how to write one lol.. this is more of a sharing of info on what i've come across when doing this install....
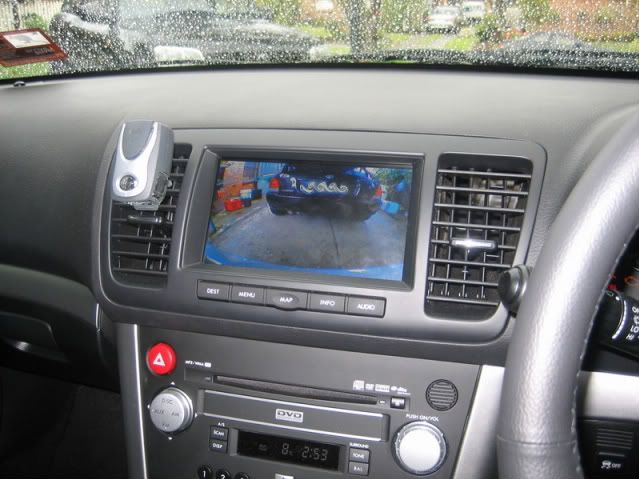
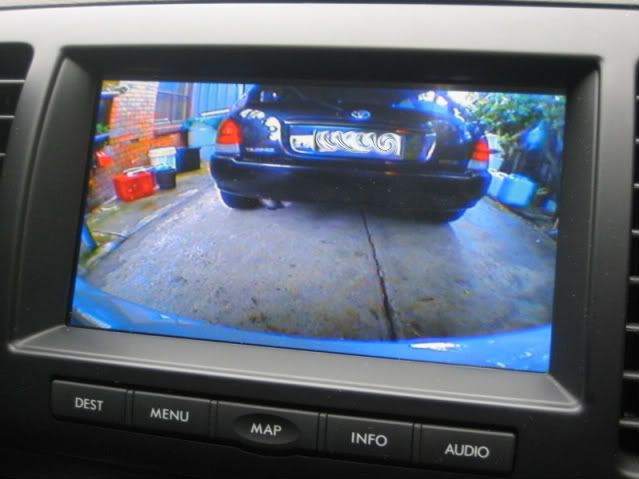
Thought I'd share some pics that I took when I mounted my reverse camera today to help any others that may attempt it. Sorry I couldn't get more step-by-step pics but it was freezing cold and me and my dad wanted to get it done ASAP lol.
here goes...
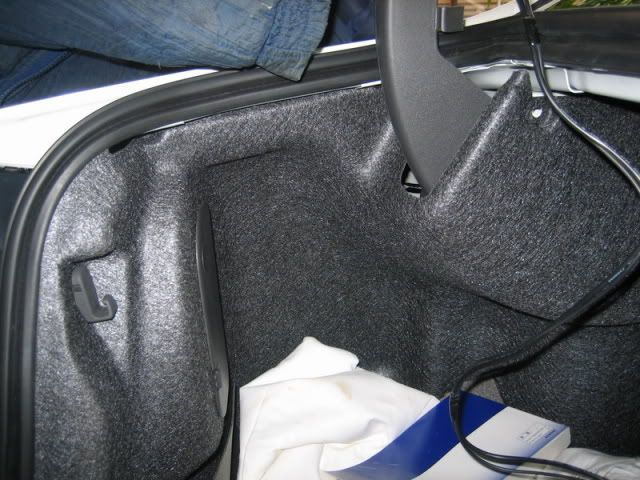
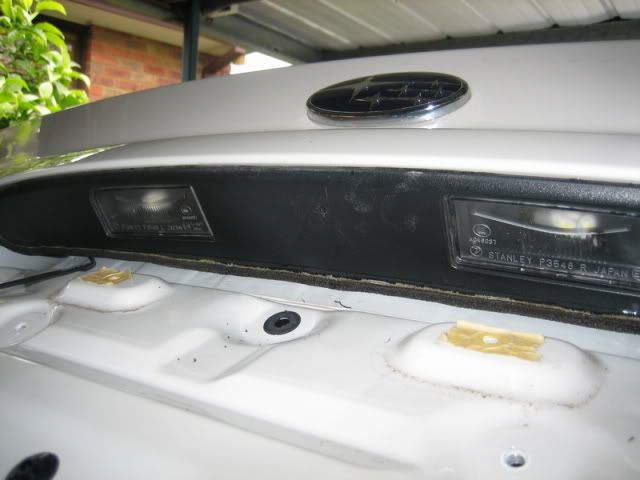
Firstly, remove inner trunk lining to access the inner workings of the trunk lid. It comes out easily after u've popped out all the screws.
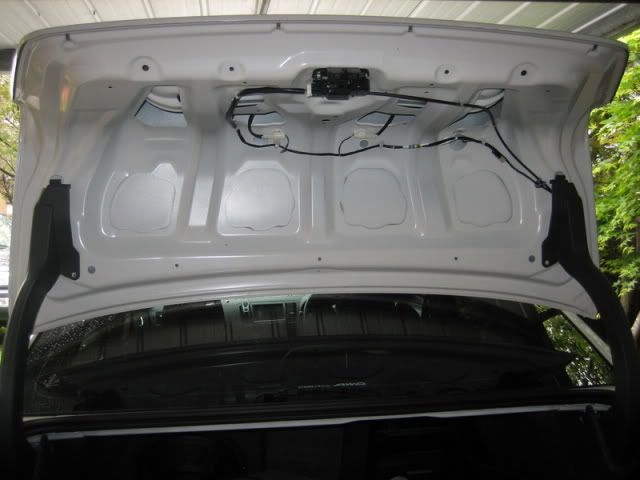
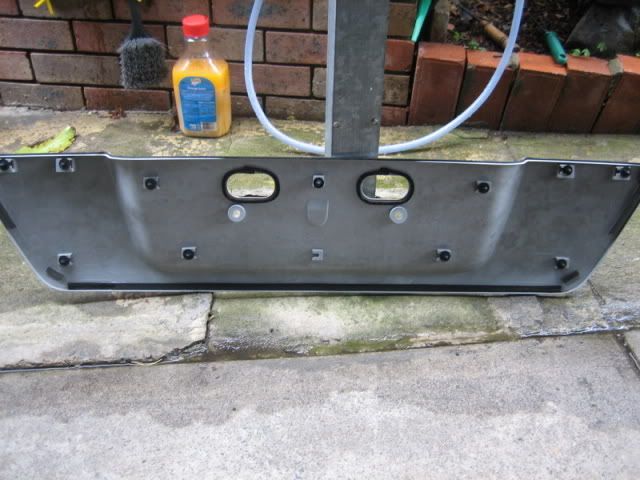
It helps to remove the out panel on the trunk so that you can run the wiring through to the actual camera. At first we weren't going to remove it, but then you would have to drill a hole in the trunk lid handle to run the connector through so we went about removing it.
To remove panel, see this PDF thanks to a post by at last! on another thread here and also on LGT.
http://www.legacygt.com/forums/attachme ... 1173808982
thread:
viewtopic.php?t=4246
the panel pops out where the screws are documented in the PDF after you've removed the two screws mounted behind the licence plate. Use a bit of force to get em out, follow the PDF and remove from the top right first, then pop all the screws out as you move to the left. (careful though as we broke one of the screws in the second pic down... but lucky it doesn't affect anything)
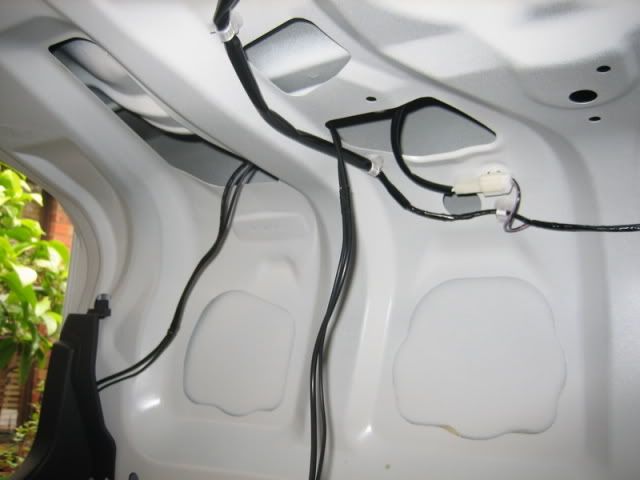
we ran the camera wiring which is coming from the reverse light on the inside of the inner lining (stick the cable to another cable or string that you have lying around and guide it through). we ran it up the trunk hinge and hid it behind the inner lining

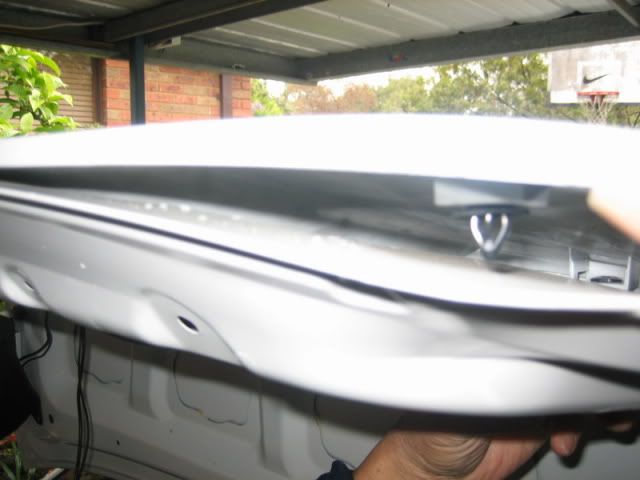
to remove trunk lid handle, there's about 6 screws which you will need to push down from on the inside of the trunk. we used a pair of pliers which helped a lot. careful not to cut urself on the sharp metal!
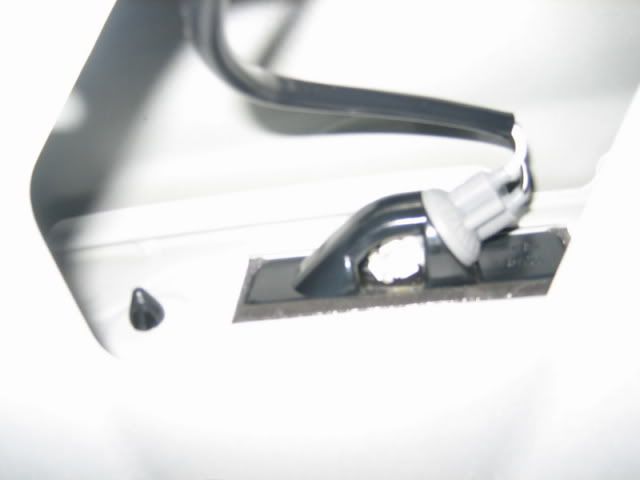

push enough cable through so its just enough to run along under the handle, see left of pic:
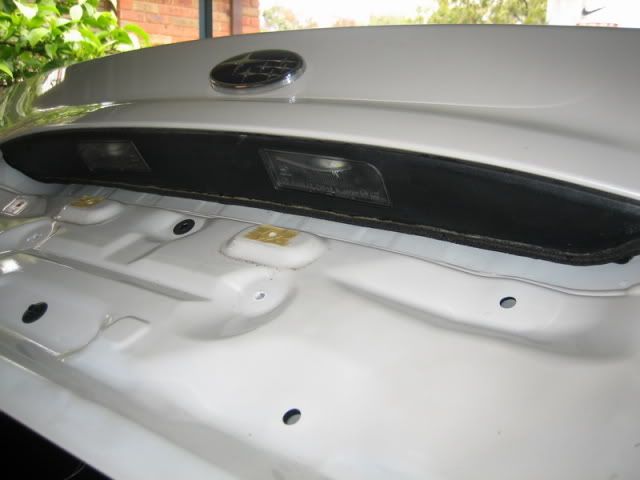
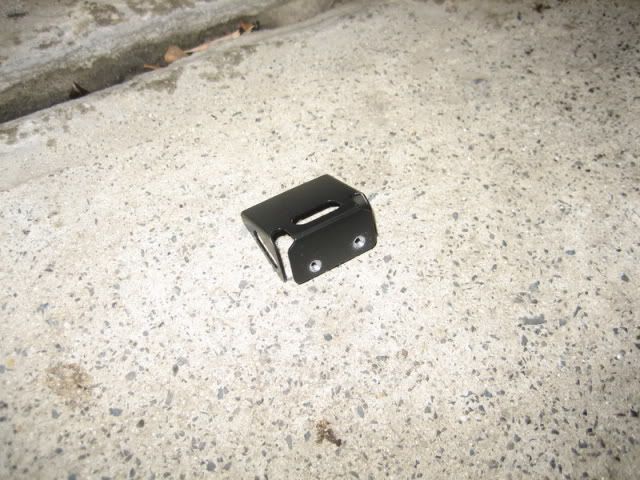
drilled holes for our camera mount:

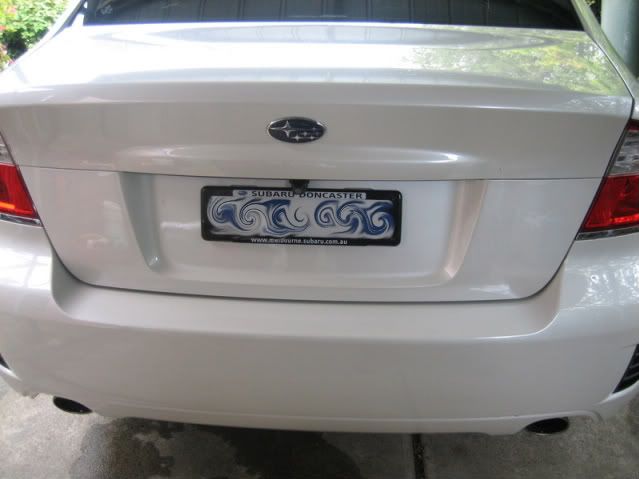
pop everything back on and u're done!
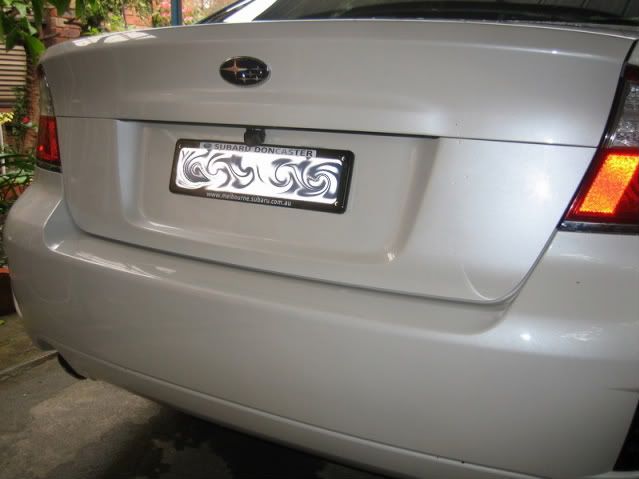
i woulda preferred the camera not stick out so much and be so bulky, but had no choice as theres metal directly about the mount so takes a bit more work to drill a square and mount it halfway up..
hope this helps someone out there... lol