OK, I've finally installed the DEI530T, and it's working perfectly.
I now have auto up and down for driver and passenger windows

I did order, and pay for an Autowindow unit, unfortunately there was an error on their site and they never got the order...
Paypal refunded me the money and I emailed Autowindow asking what happened.
I then ordered a couple of PAC Audio TR7 units as described in this thread here --->
http://www.tundratalk.net/forums/tundra ... n-how.htmlJust after I had ordered the new parts, Autowindow got back to me, saying they had fixed the error and asked if I would like to order again...
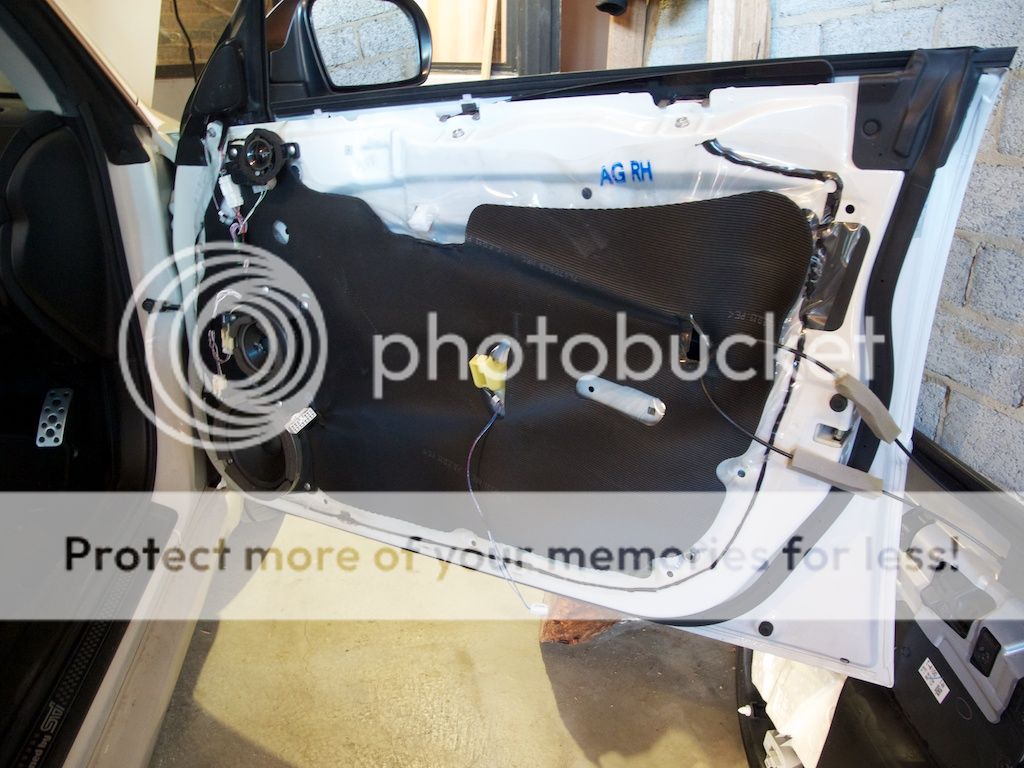
Anyway, here's how to take the door trim off:
http://iagresearch.com.au/index.php?opt ... iew&gid=44And here's what the inside of the door looks like:
I followed instructions found here :
http://legacygt.com/forums/showthread.p ... 62585.html"Before you begin you will need the following:
15 foot lengths (more if you are doing two modules) of 14AWG Blue, 14AWG Green, 20AWG Brown, and 20AWG White. (you can use any colors, but these match the 530T module wires)
Heat shrink tubing
Solder gun/solder (Crimp connectors or wire nuts would also work)
Electrical tape
Wire tap to connect the battery line coming off the fuse panel (I forget the size)
Wire cutters & wire strippers
Appropriate tools to take apart the car
Here is what I did when installing a DEI 530T module:
Note: Subaru is 'Type A' in the 530T manual.
Disconnect the car battery.
Place the module under the dash and connect the three ground wires (H1/1, H1/5, & H1/6) together with an O-lug and fasten it down with a chassis bolt.
I tapped the battery line coming off the fuse panel for the always-on +12 volts needed for the 530T (H1/4). The +12 wire at the fuse panel is thick RED wire located near the bottom of the fuse panel.
Now you will need to remove the door panel and run the four wires listed above into the door (this is the hardest part).
Locate the wire harness that plugs into the window motor (Blue/Red, and Blue/Green) and cut both wires leaving room to attach your new ones.
Attach the BLUE wire to the Blue/Red wire and the GREEN wire to the Blue/Green wire on the motor side. Attach the BROWN wire to the Blue/Red wire and the WHITE to the Blue/Green wire on the switch side. (Repeat the above three steps for the passenger door)
Now attach your wires to the 530T module under the dash. The driver’s side is a direct color to color match (H1/3 – Blue, H1/2 – Green, H2/1 – Brown, and H2/2 – White. The passenger side wires are the same color but have a black stripe in them (H1/8 – Blue/Black, H1/7 – Green/Black, H2/6 – Brown/Black, and H2/7 – White/Black).
Put your door panels back together.
There will be three wires not connected to the 530T module. Two of the wires are used for the AutoWindow (H2/3 and H2/4). The third wire is not used (H2/5 – Gray)."Here's a pic of the wires, the two that are separated are the ones to cut:
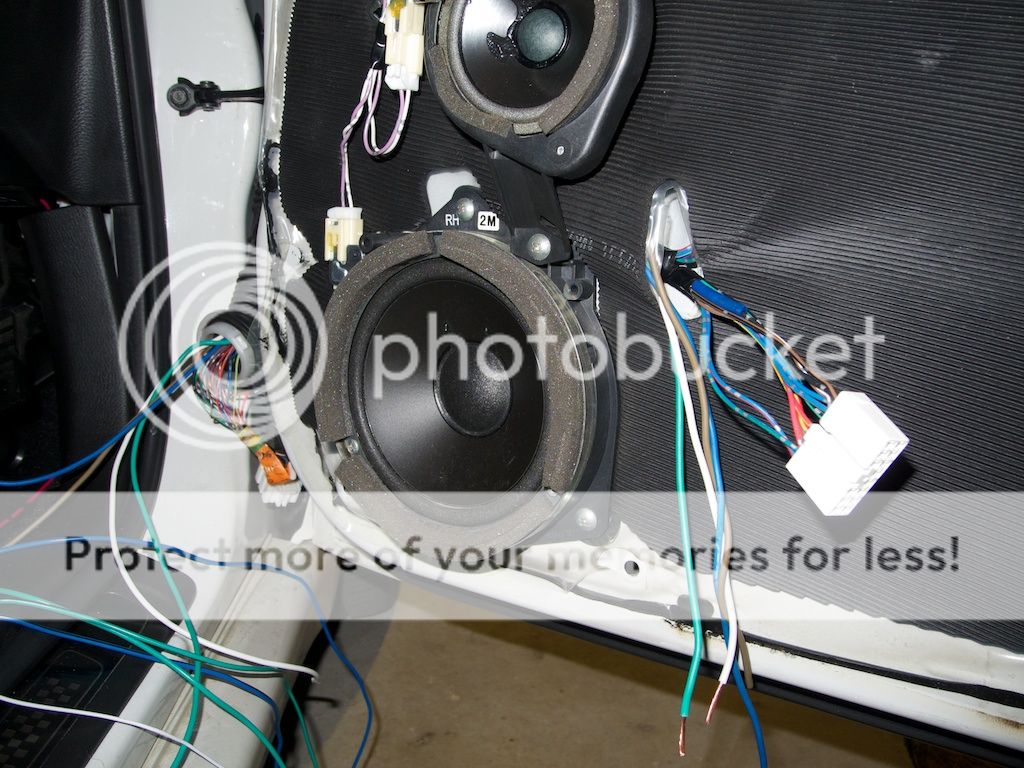
Now I just have to work out how to wire in the TR7 units...