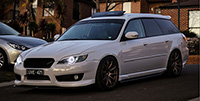
Right. So I've decided to Wrap my GT Wagon. The colour I chose was Avery Dennison's Gloss Grey - SW900-832
Disclaimer: This is an Extremely tedious process and takes lots of prep and patience if you want to achieve decent results.
I started by thoroughly cleaning the car and decontaminating the paint as well as I could. The easiest way to achieve this is to wash the car as normal WITHOUT wax, and take your time doing so, you cannot miss a spot otherwise you'll pay for it later. Use high quality wash fluids, such as AutoGlym, which I used for this car, along with a microfiber applicator pad or cloth to scrub the car with. Let the car sit with the soap over it for a little while before washing it off with a pressure washer and repeat. This will ensure that any loose dirt is released from the paint.
Rinse again and go back in with a clay bar and then a final rinse. Make sure it is completely DRY before even thinking about starting to lay down the Vinyl.
I started by pulling all of the door cards off, along with the rubber trim pieces that line each door's exterior. I had to be careful with these clips, they were brittle as heck and a nightmare to keep in one piece while taking the trims off. I removed all of the rubber seals and window trims as well to make life easier.
Wrapping the doors was a walk in the park, as were all of the larger flat panels on the car. The door handles, not so much

I used rubbing alcohol on each panel before starting, wiping down with a clean microfiber pad.
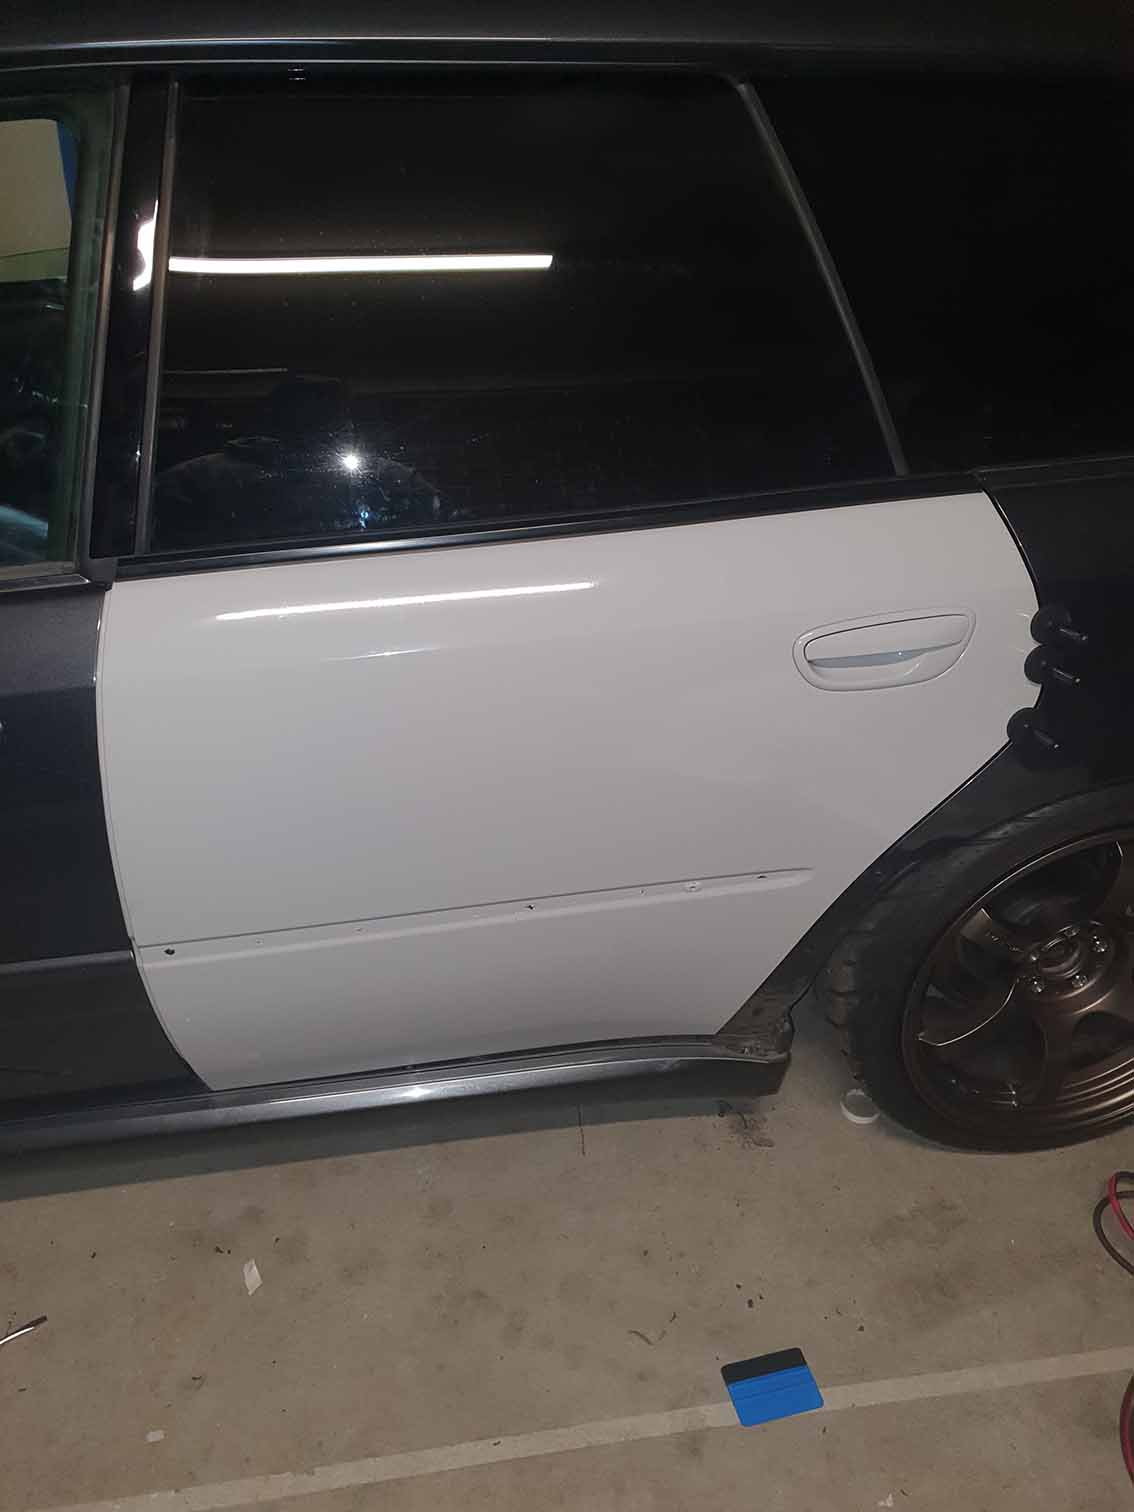
- 20200322_215942.jpg (73.08 KiB) Viewed 3547 times
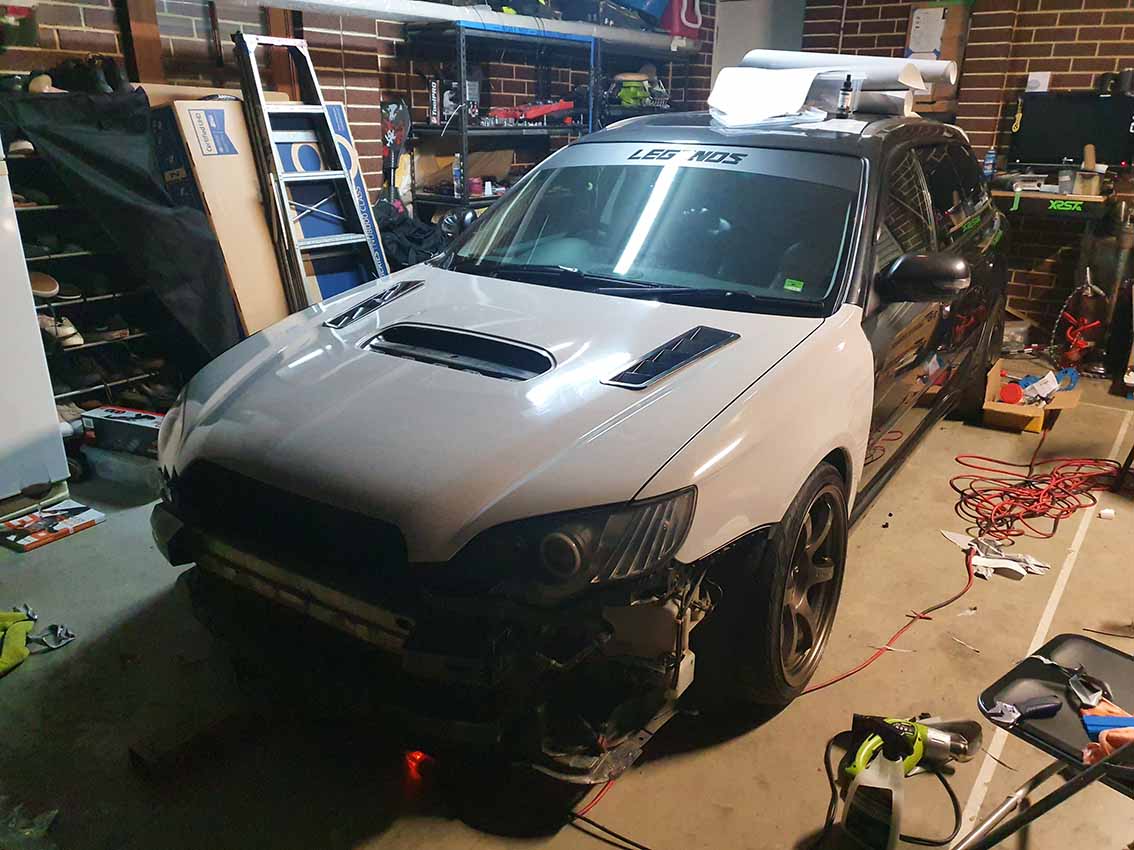
I worked through the boot, front quarter panels and bonnet next, in an attempt to get the easier stuff out of the way first. Common misconception about wrap; People assume you have to use heat for everything... WRONG.
- 20200402_223112.jpg (91.93 KiB) Viewed 3547 times
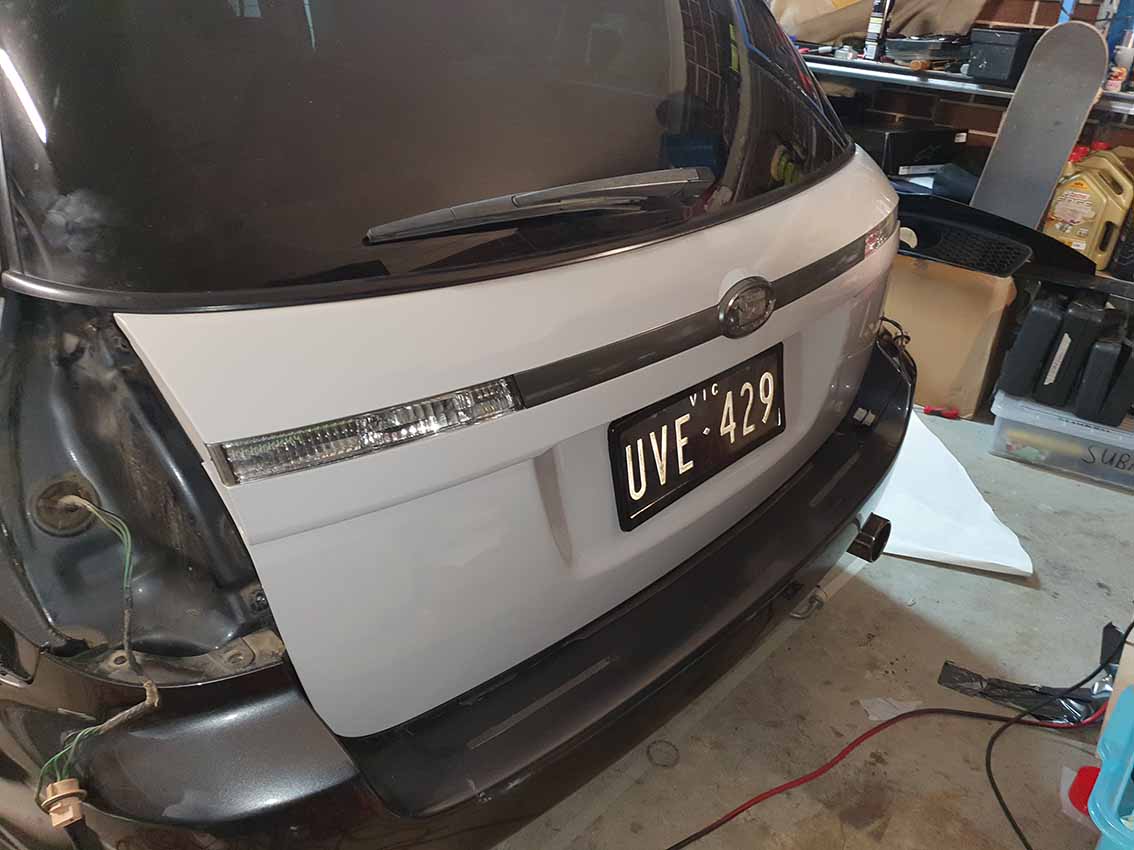
Please don't mind the dirt in the recess where the tail lights were, when I cleaned the car everything was still on (lights, bumpers,trims etc), my mistake. The boot was all the way opened during the wrap for the tailgate, I stood up on a stool and worked on it flat, otherwise the hydraulic struts would have made this very annoying, constantly trying to open the hatch
Heat used in the wrong areas in the wrong way will cause issues later on. For example, in crevices like where the license plate sits in the rear, you should heat the SIDES of the area to allow the wrap to fall into the cavity. If you heat the center/bulk of the wrap that falls into the cavity, it will want to return to its natural state when exposed to heat later on. Best practise is to wrap into cavities WITHOUT HEAT, or to use as little as possible.
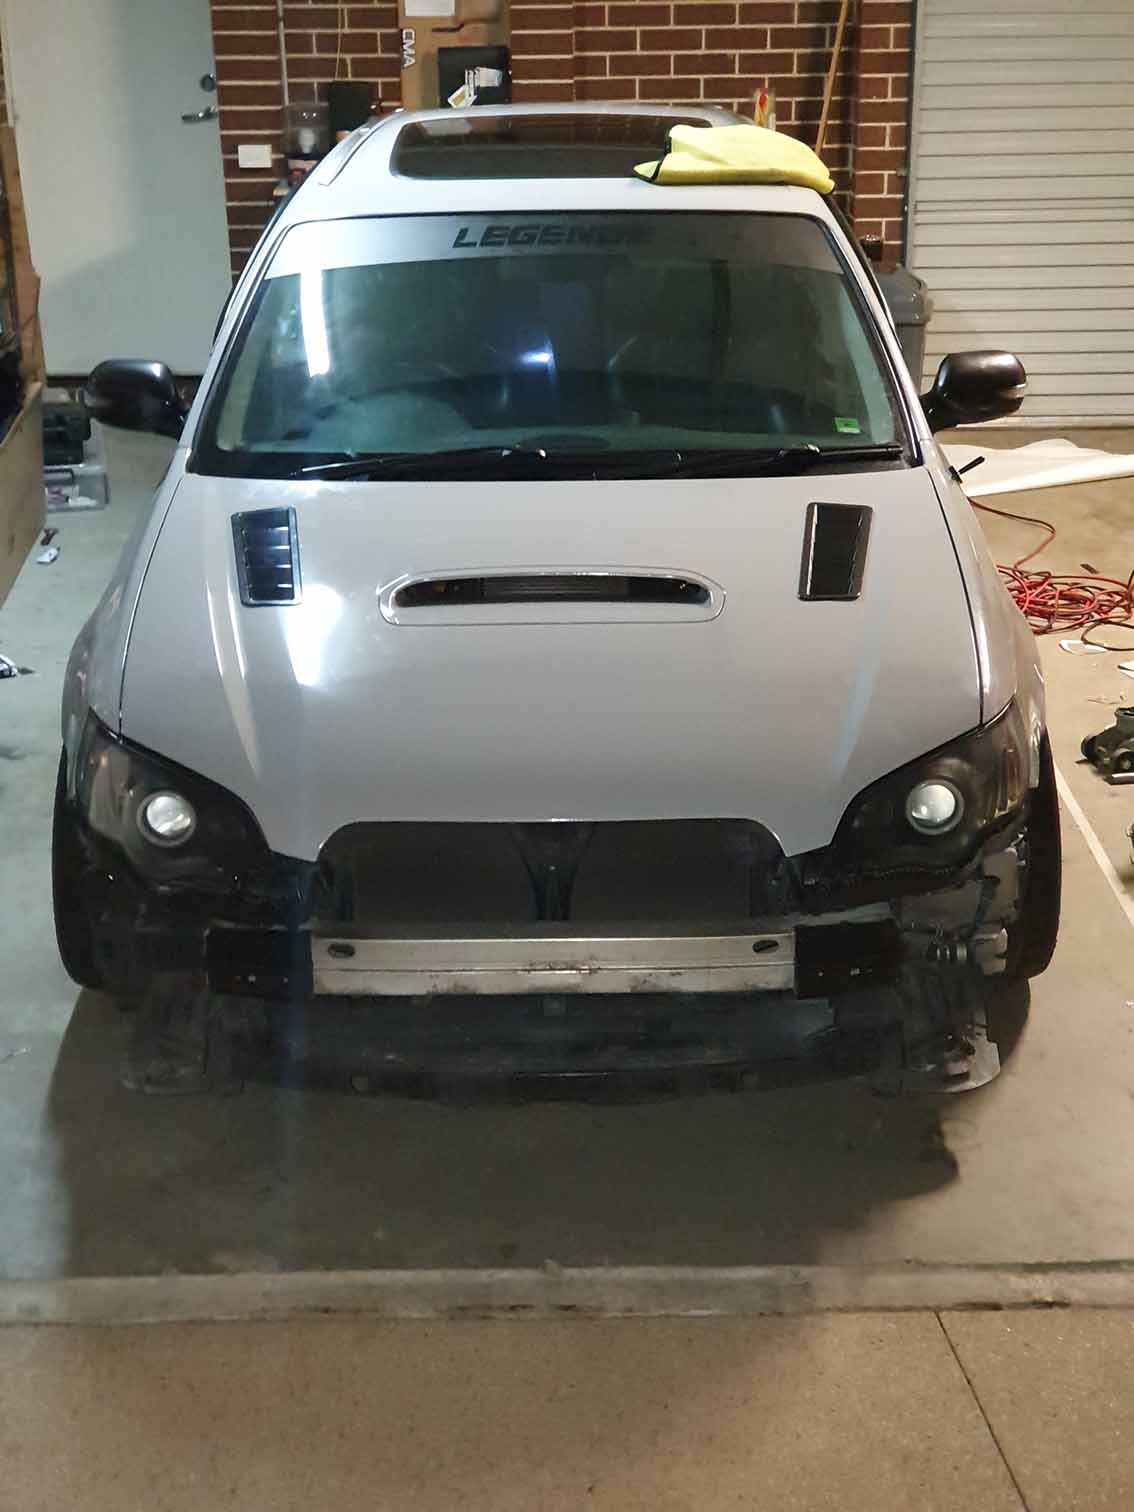
- 20200315_012747.jpg (127.3 KiB) Viewed 3547 times
- 20200406_203438.jpg (99.61 KiB) Viewed 3547 times
At this point I was starting to get a really good feel for how the car was going to look, and I liked it.
The Liberty is a fantastic car to learn how to wrap with. The panels are all relatively simple and flat, and the wagon roof is separate from the quarter panels in the rear meaning it can all be wrapped in one piece. No need for seamless joins in this case.
Some tips for anyone wishing to attempt this themselves before I finish up;1. Only use heat when necessary, and by that I mean with Large flat panels, and to do what is called "POST-HEATING". Post heating is essential for inlays and cavities. You heat the film after applied to the panel to approximately 60°C to change the characteristics of the film, so that it no longer has the ability to spring back to its normal state. This sets the film and ensures it doesn't move away from the panel after sitting in the sun.
2. USE YOUR HANDS.... Gently. Make use of 3m's "Wrap Gloves", which are extremely soft and glide right over the surface of the wrap which helps with inlays and cavities. However DO NOT use the gloves or your hands to smooth the wrap over a panel while it is HOT. Heat the film, apply it to the panel and then wait for it to cool down before pushing it into place.
3. Don't be too careful with the wrap, it is surprisingly strong, and can be stretched quite aggressively to get it where you need it to be. This being said, be EXTRA careful if the film has been heated up.
4. WASH YOUR F*#KING HANDS. Any Dirt on your hands that the wrap picks up will make it loose its tack, and cause it to lift over time.
5. Clean the space you are wrapping the vehicle in. Wrap generates static, meaning it will attract small particles of dirt and dust if it is laying around on the floor or is in the air. This also means you shouldn't dawdle with the wrap once you've peeled the backing off of it.
6. Get someone to help you out with the bigger and more complicated panels.
7. Have fun. I screwed up a few times and learnt heaps from it. Next time will be a piece of piss.
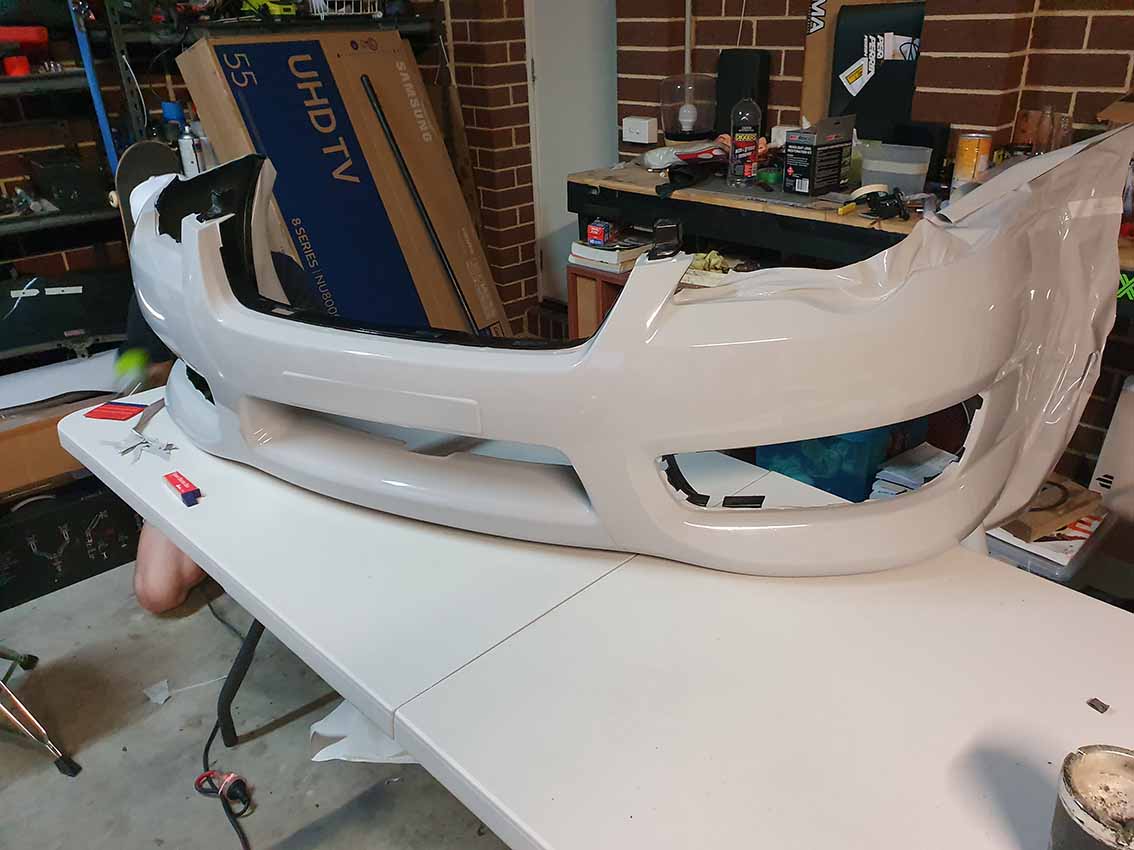
- 20200419_175532.jpg (97.17 KiB) Viewed 3547 times
The last 2 panels I wrapped were the front and rear bar's... which were very, very difficult.
I started wrapping with them on the car, and then removed them to tuck and trim excess.
You'd barely be able to tell in person, but the front bar had to be wrapped in about 5 different pieces, the rear in 2.
They both took myself and a friend I had asked to help out over
5 hours between the 2 panels. But once done, I was so so happy looking at the result. Was great to know that I did it myself.
Here's what it looked like right after finishing..
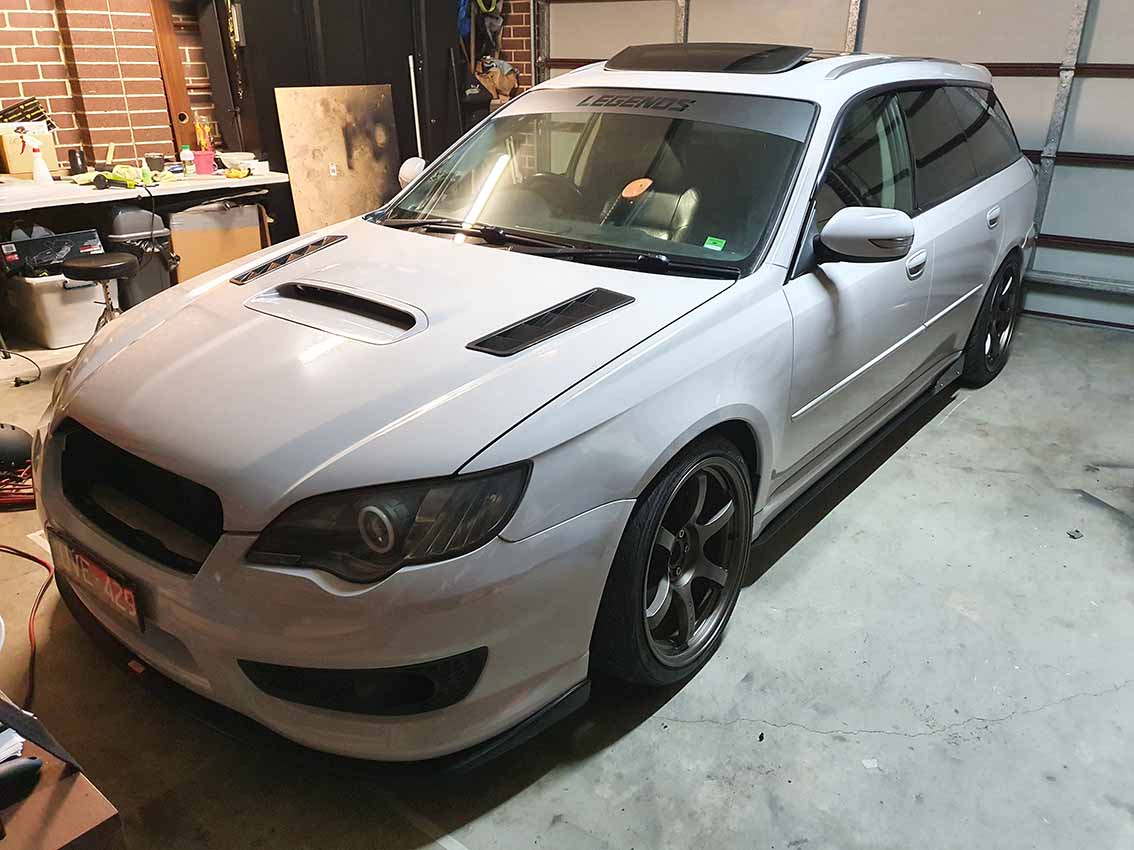
- 20200510_144130.jpg (115.96 KiB) Viewed 3547 times
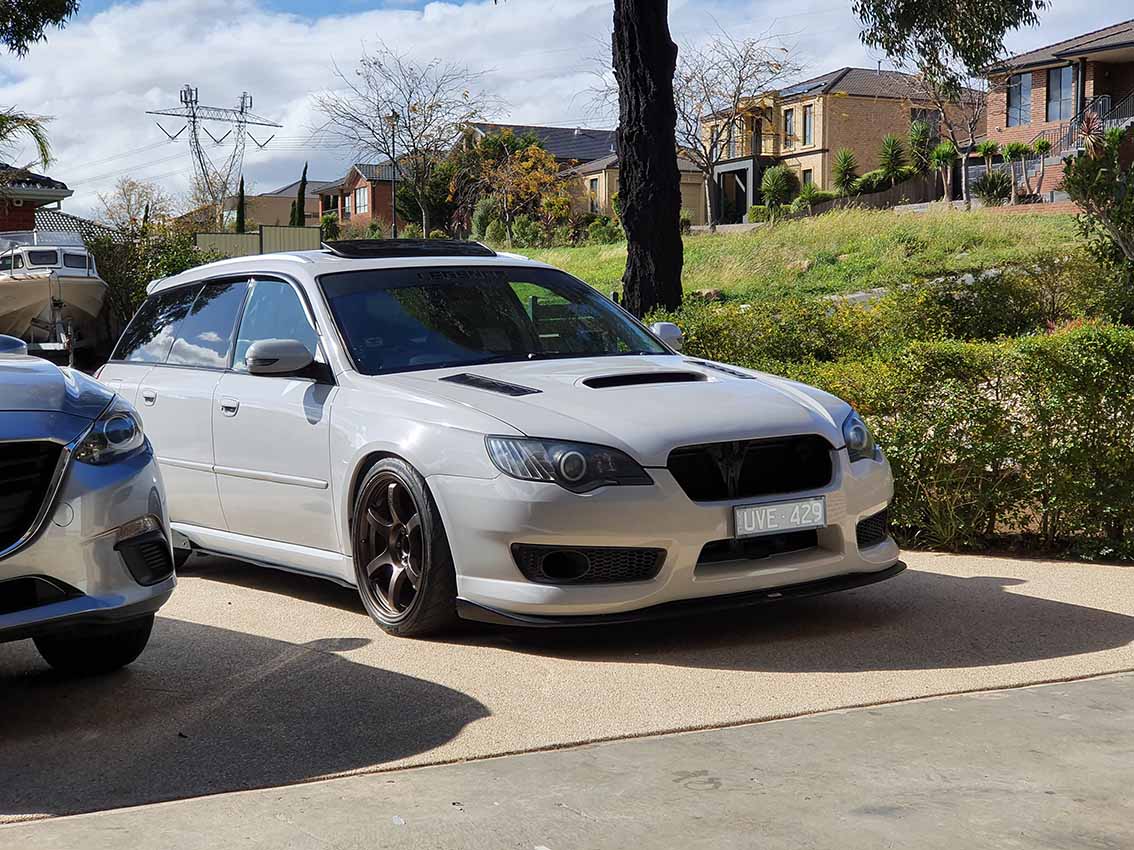
- 20200508_125344.jpg (194.14 KiB) Viewed 3547 times
I was "wrapped" to say the least... HA HA

Seriously though this took a very long time to get it to where it is today, I am extremely happy with, and proud of how it's all come together at this point.
This was a temporary solution for paint. I didn't want to cheap out on respraying the car but I also didn't like the way it looked when I bought it, so wrap was a great alternative to paint while I save to have the car properly re-sprayed in future. For now I had other things to spend my money on